E-commerce Site
This E-commerce Site was a demo project that was developed during my time at my previous employer. As a cohort of 50+ people, we were given the task to create this demo site as a way to show off the skills that we have learned throughout our training period. Within a span of two weeks (September 2022 - October 2022), we had to design and implement the site's database, the front and backends of the site's inventory, marketplace, order management system (OMS), warehouse management system (WMS), and mobile app version. Given the huge amounts of tasks, we were split into six groups, each focusing on the different aspects of the site. Each member within these groups were also assigned one of five roles: full stack engineer, data engineer, mobile development, DevOps, and QE. Throughout the process, we learned how to utilize agile methodology, use JIRA to keep track of our progress, and to communicate with each other to keep our site consistent. We also became more familiarized with our tech stack. Our tech stack for this project was Typescript, HTML, CSS, Bootstrap, and Angular for the frontend. While for the backend, we used Java, Spring, and MySQL.
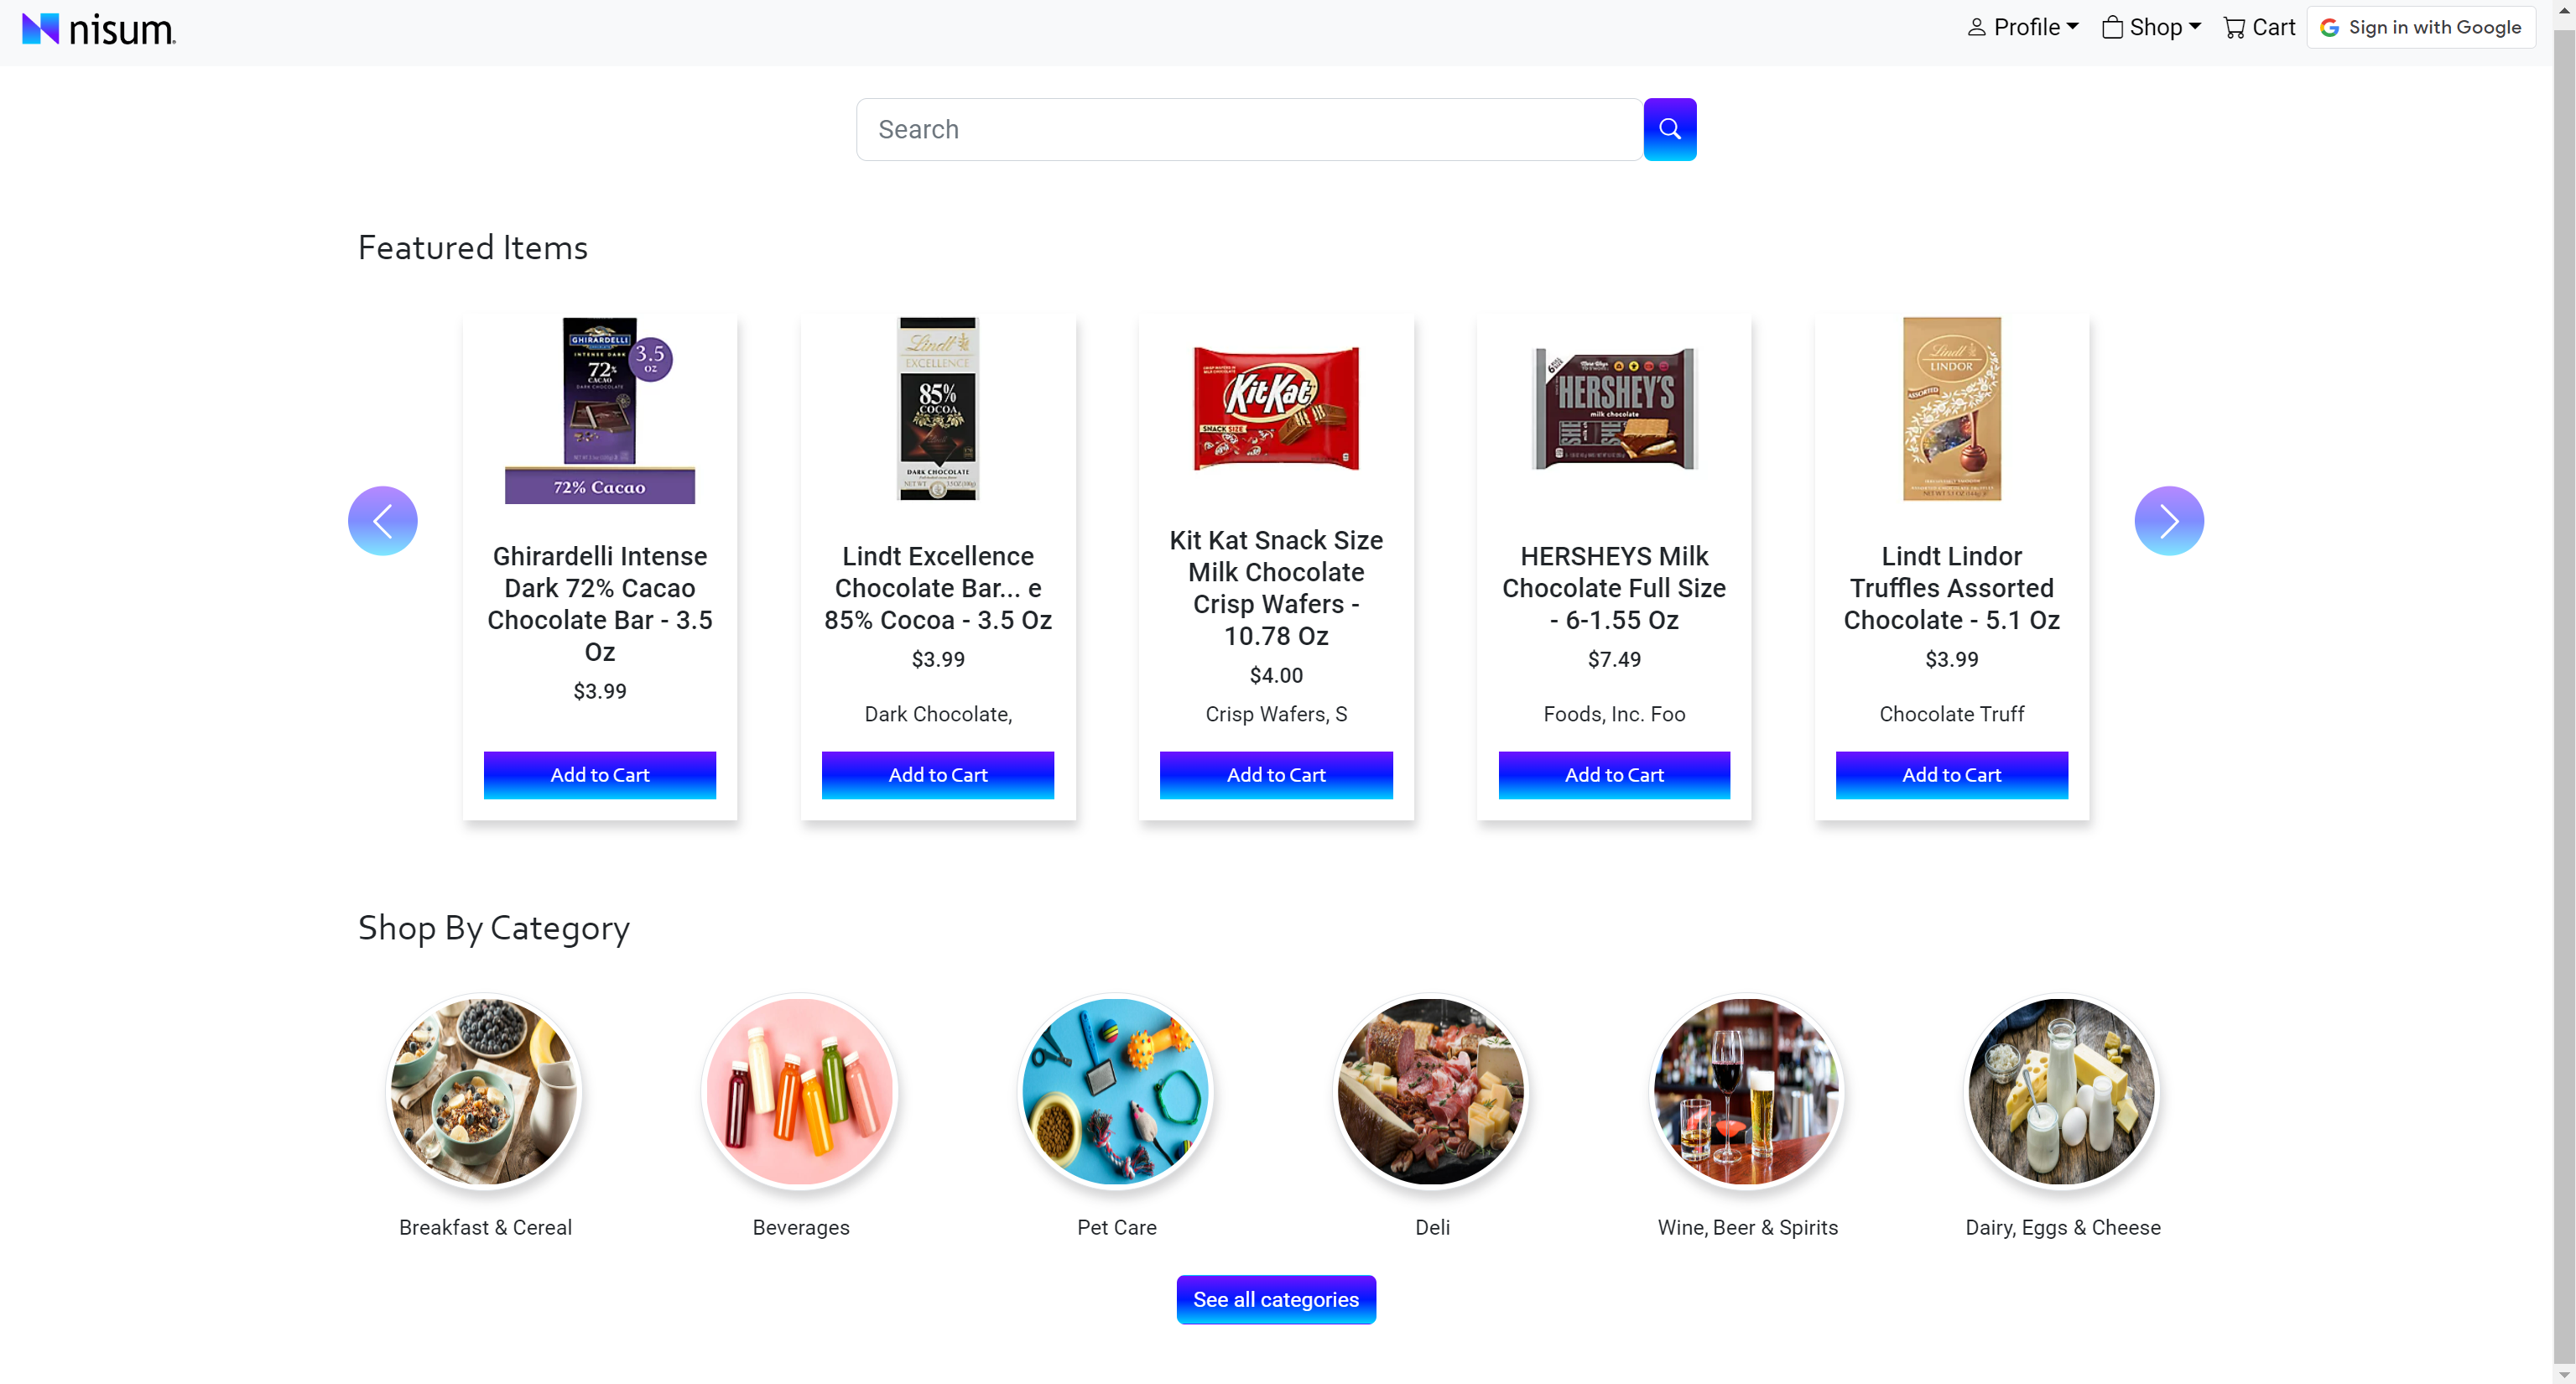
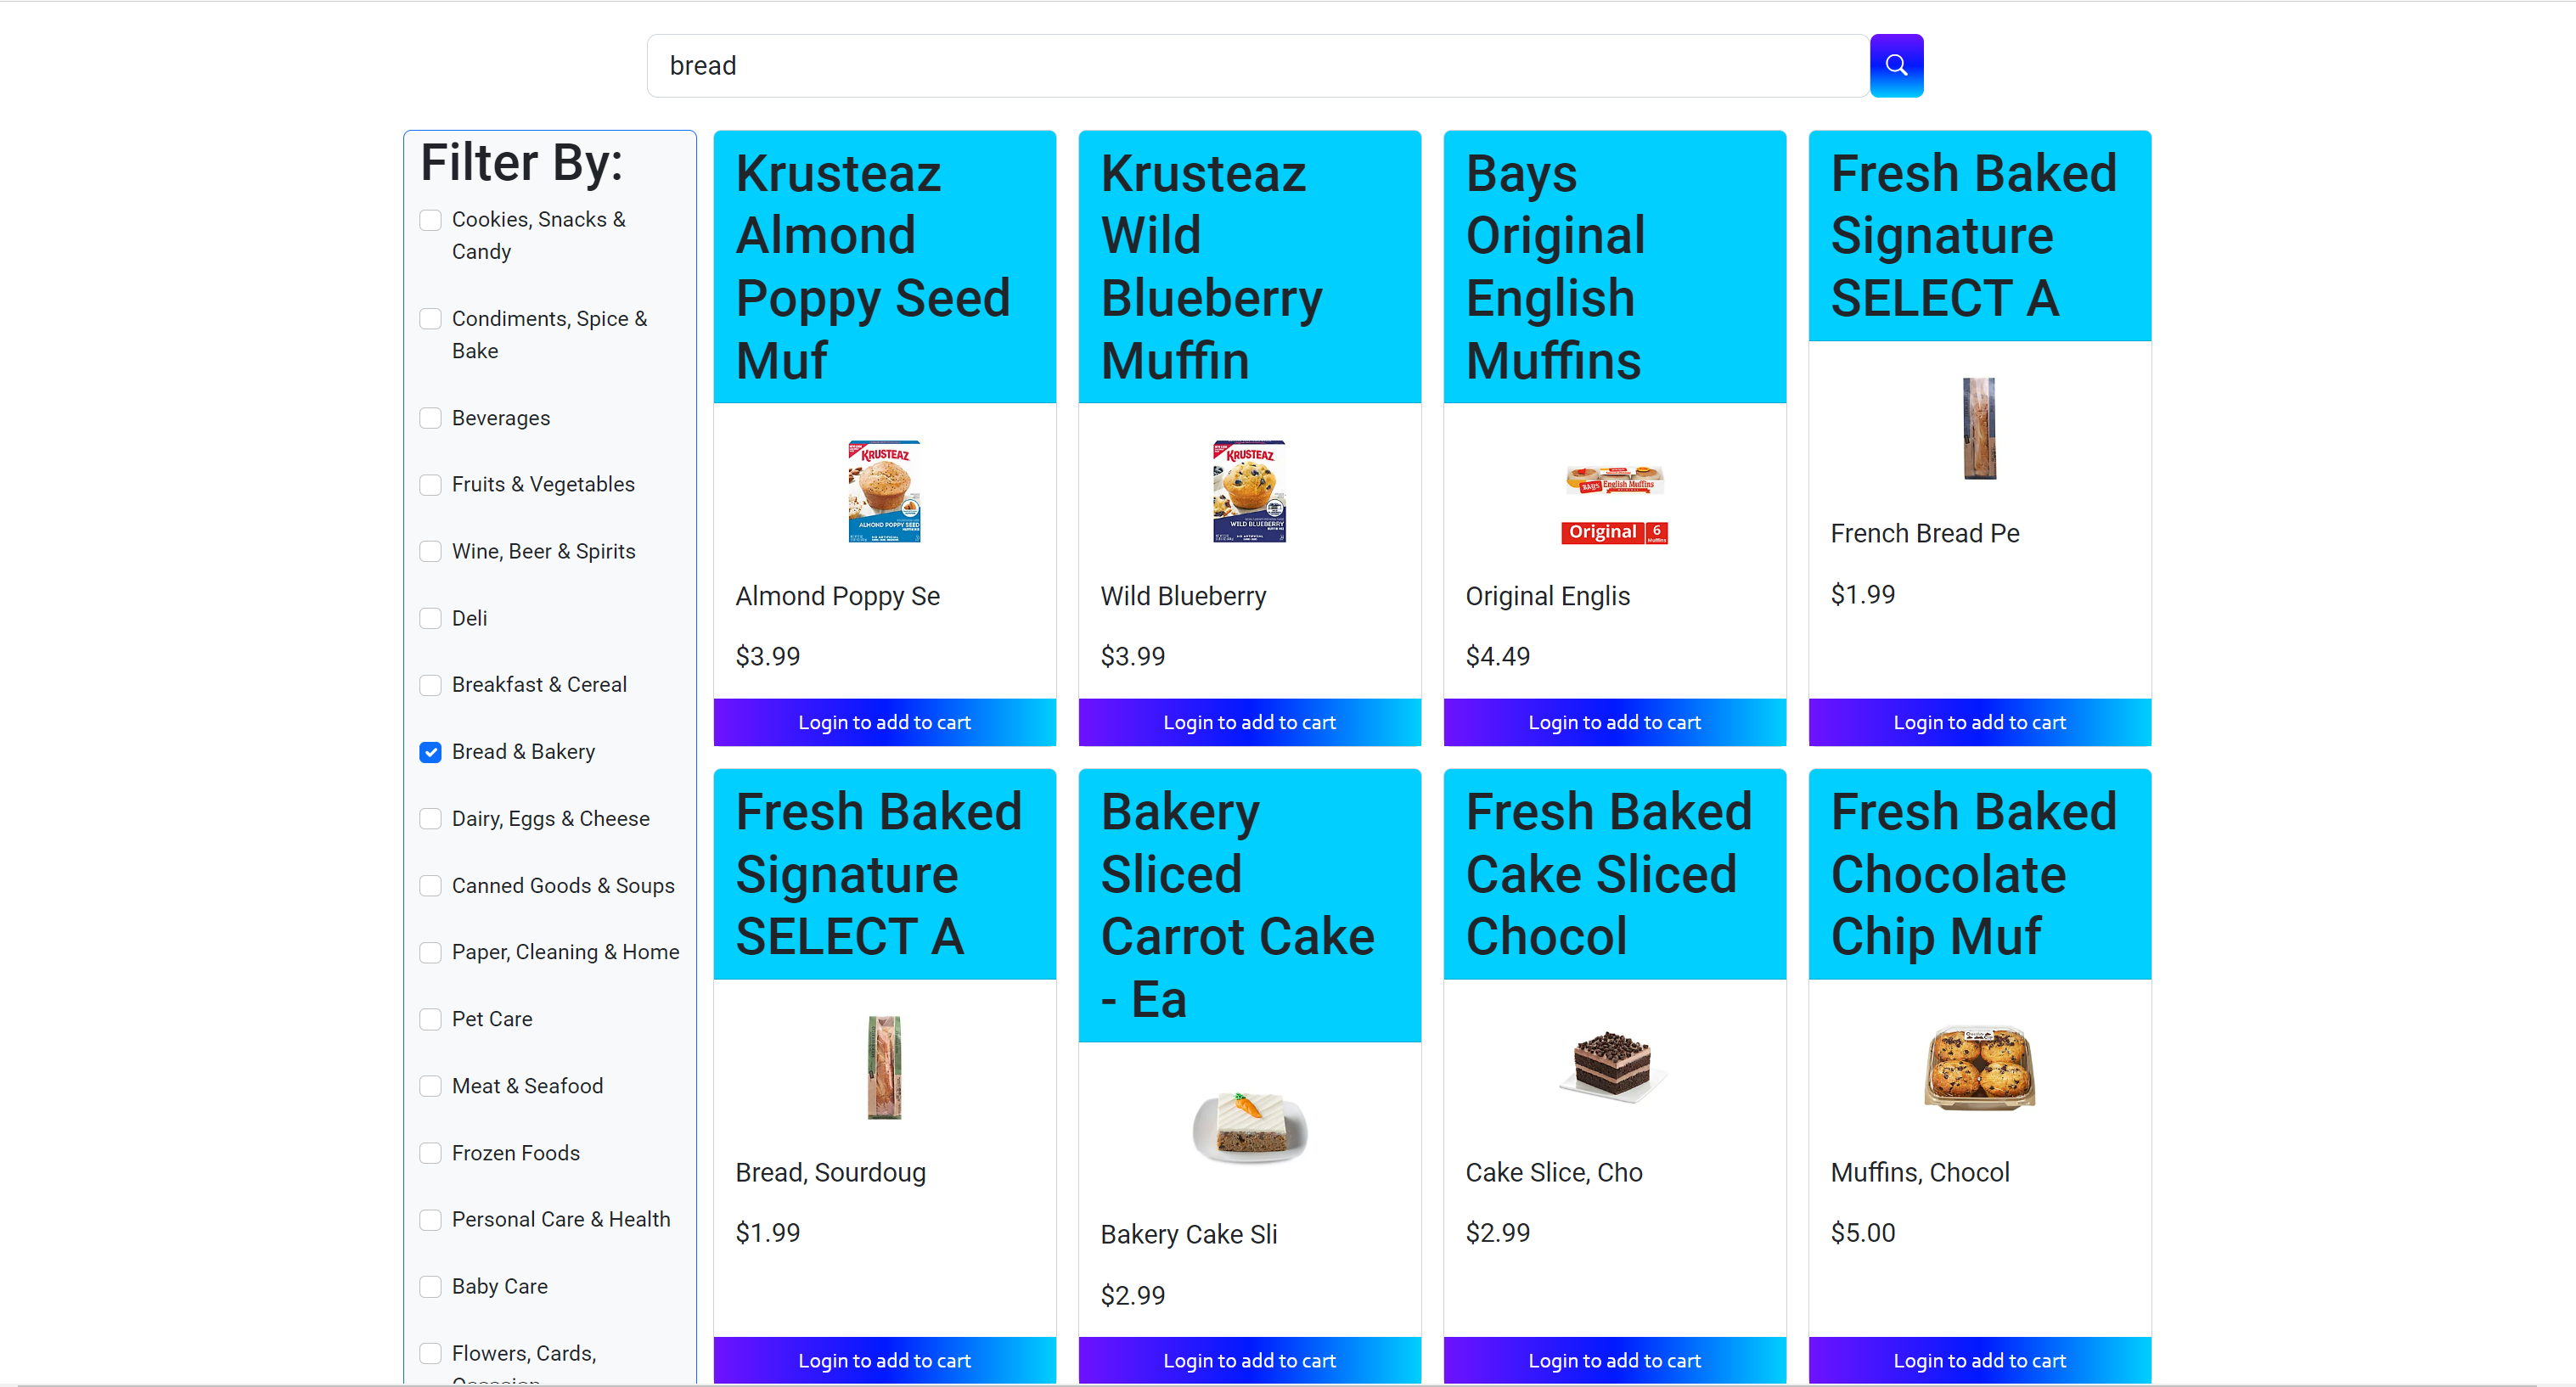
For this project, I was part of the marketplace team, and had the role of a full stack engineer. The marketplace mostly focuses on UI. Upon opening the application, users are greeted with featured products they can add to their cart, shortcuts to product categories, and a search bar to search for specific items. When a term is entered into the search bar, the user will be taken to the search results page. They can browse through the products by manually searching each page, or they can filter their search even further, by clicking on the category checkboxes on the side. The items were in collaboration with the inventory team. We had to connect to the inventory team's API to gather to the categories and products, to display on our frontend.
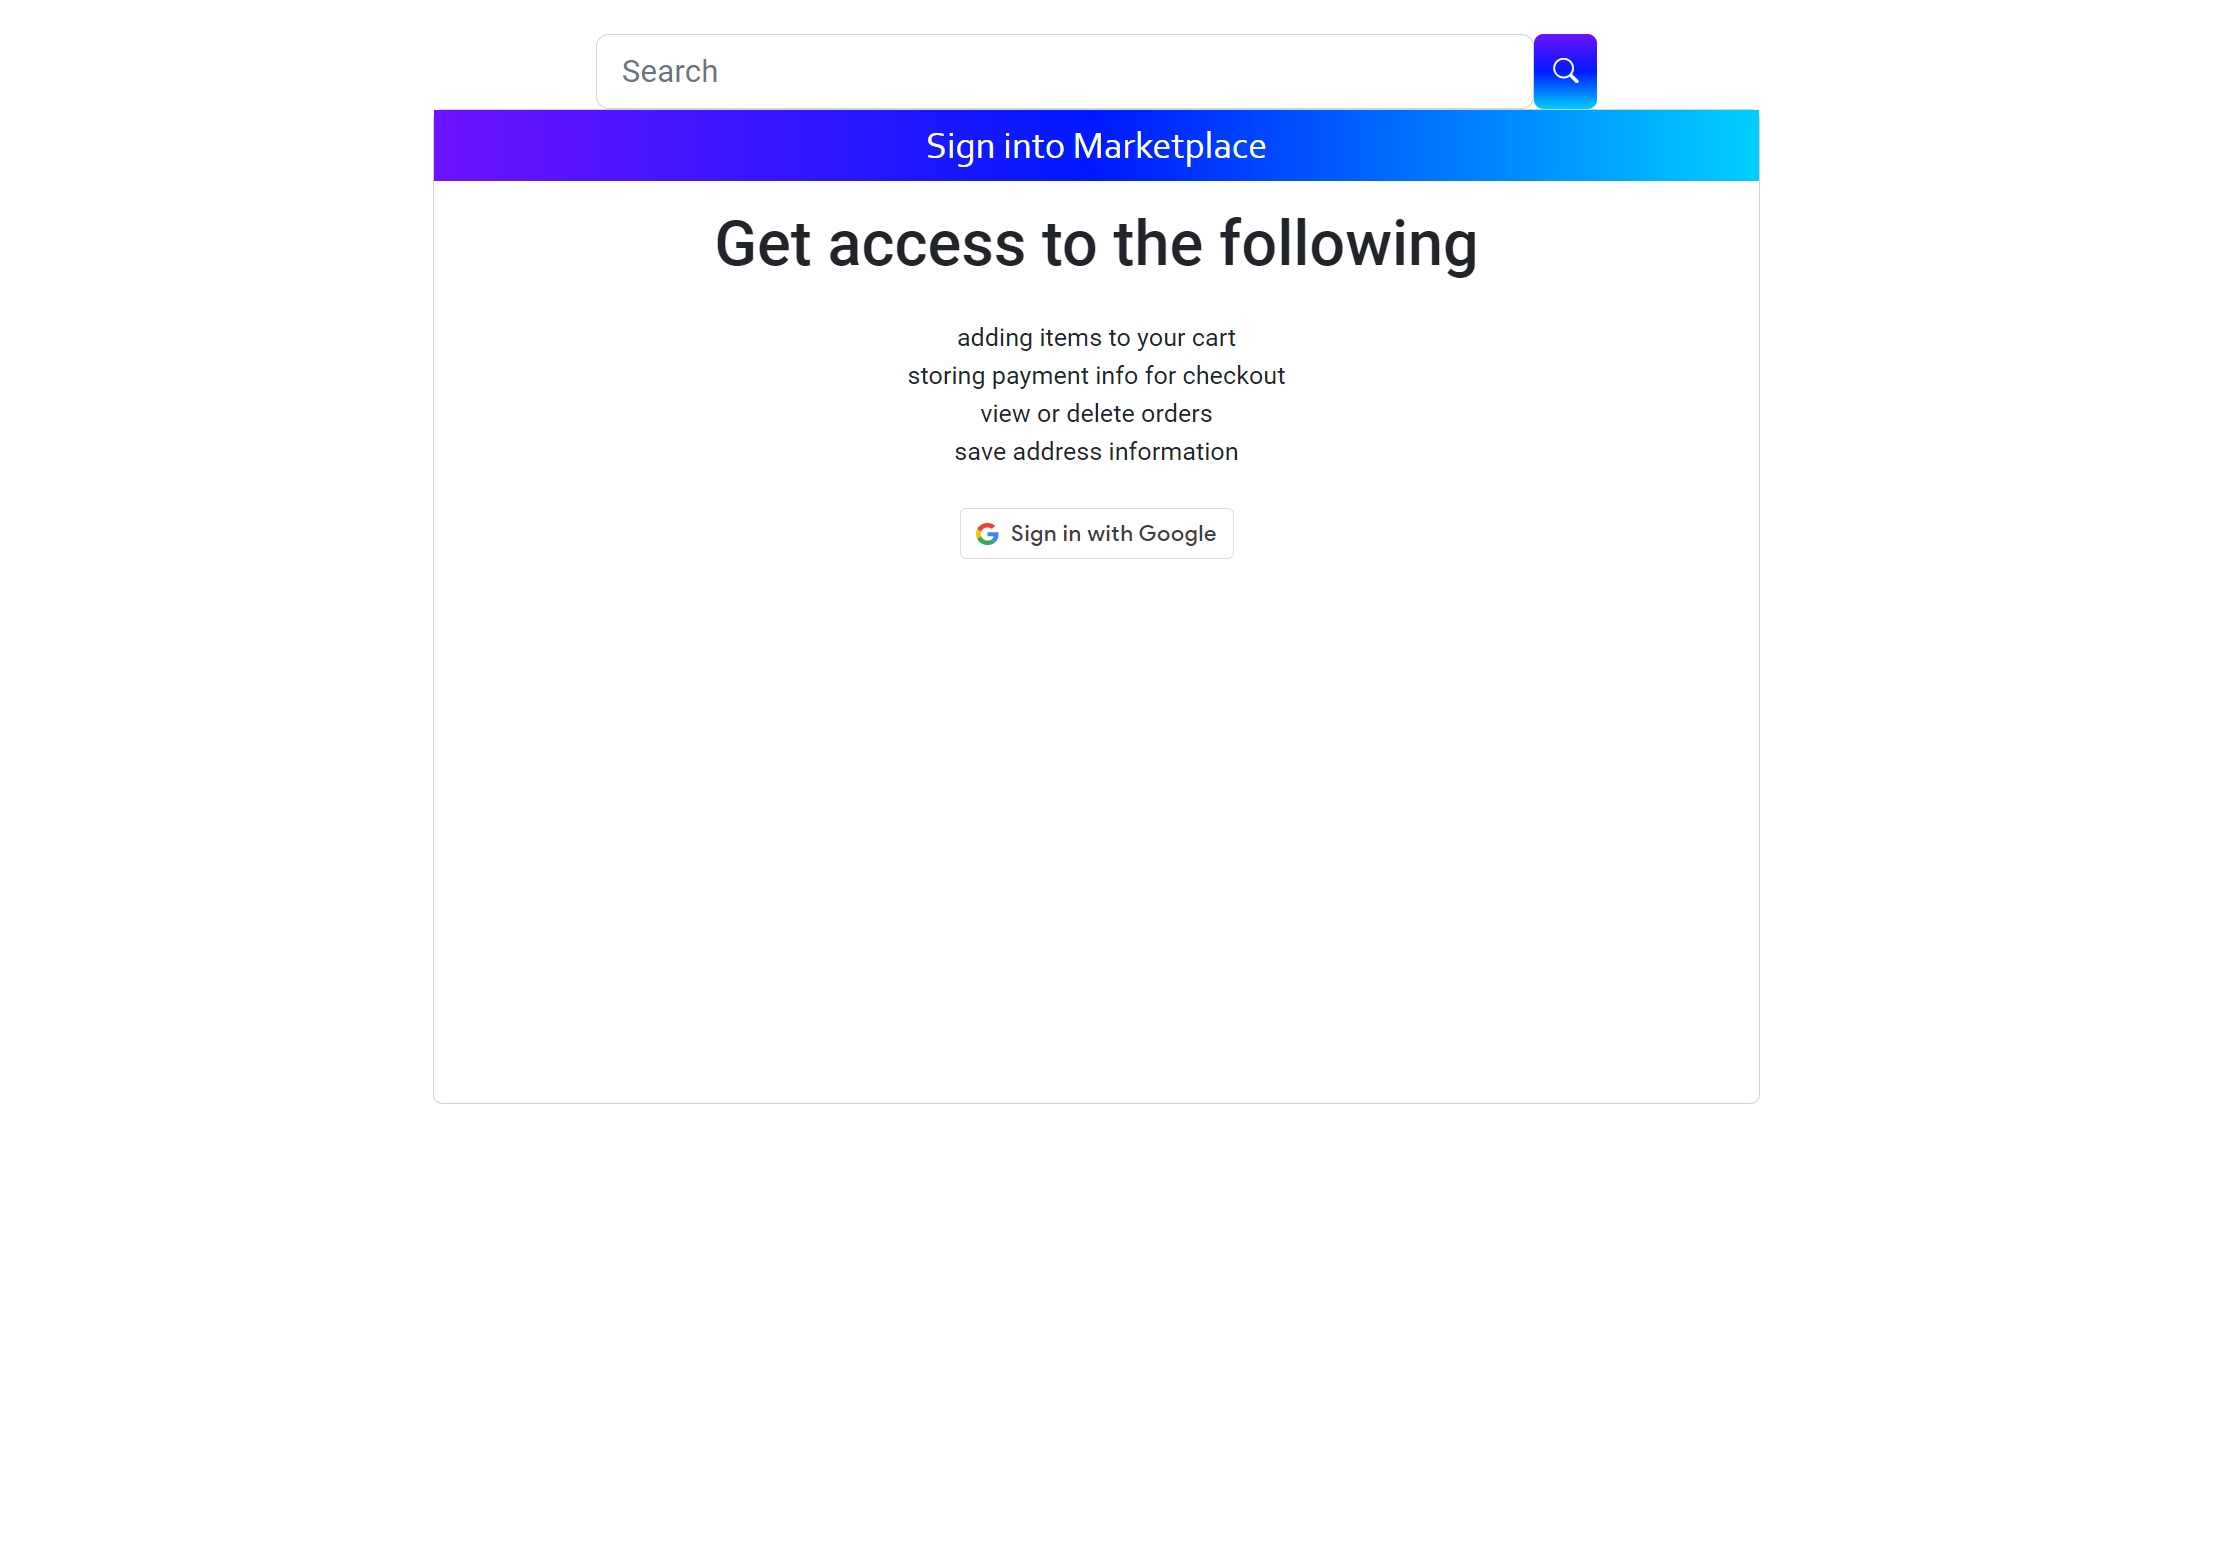
When a user wants to add a product to their cart, they may be prompted to sign in first. Users sign in using their google account, which was
implemented using Google SSO. After signing in, the user will be taken back to the main page. To add a product to their cart, the user can click on the
"Add to Cart" button under the product they want. They can click the button as many times, depending on the desired quantity they want of that item. To
check their items in their cart, they can click on the "Cart" link located at the top right corner of the page.
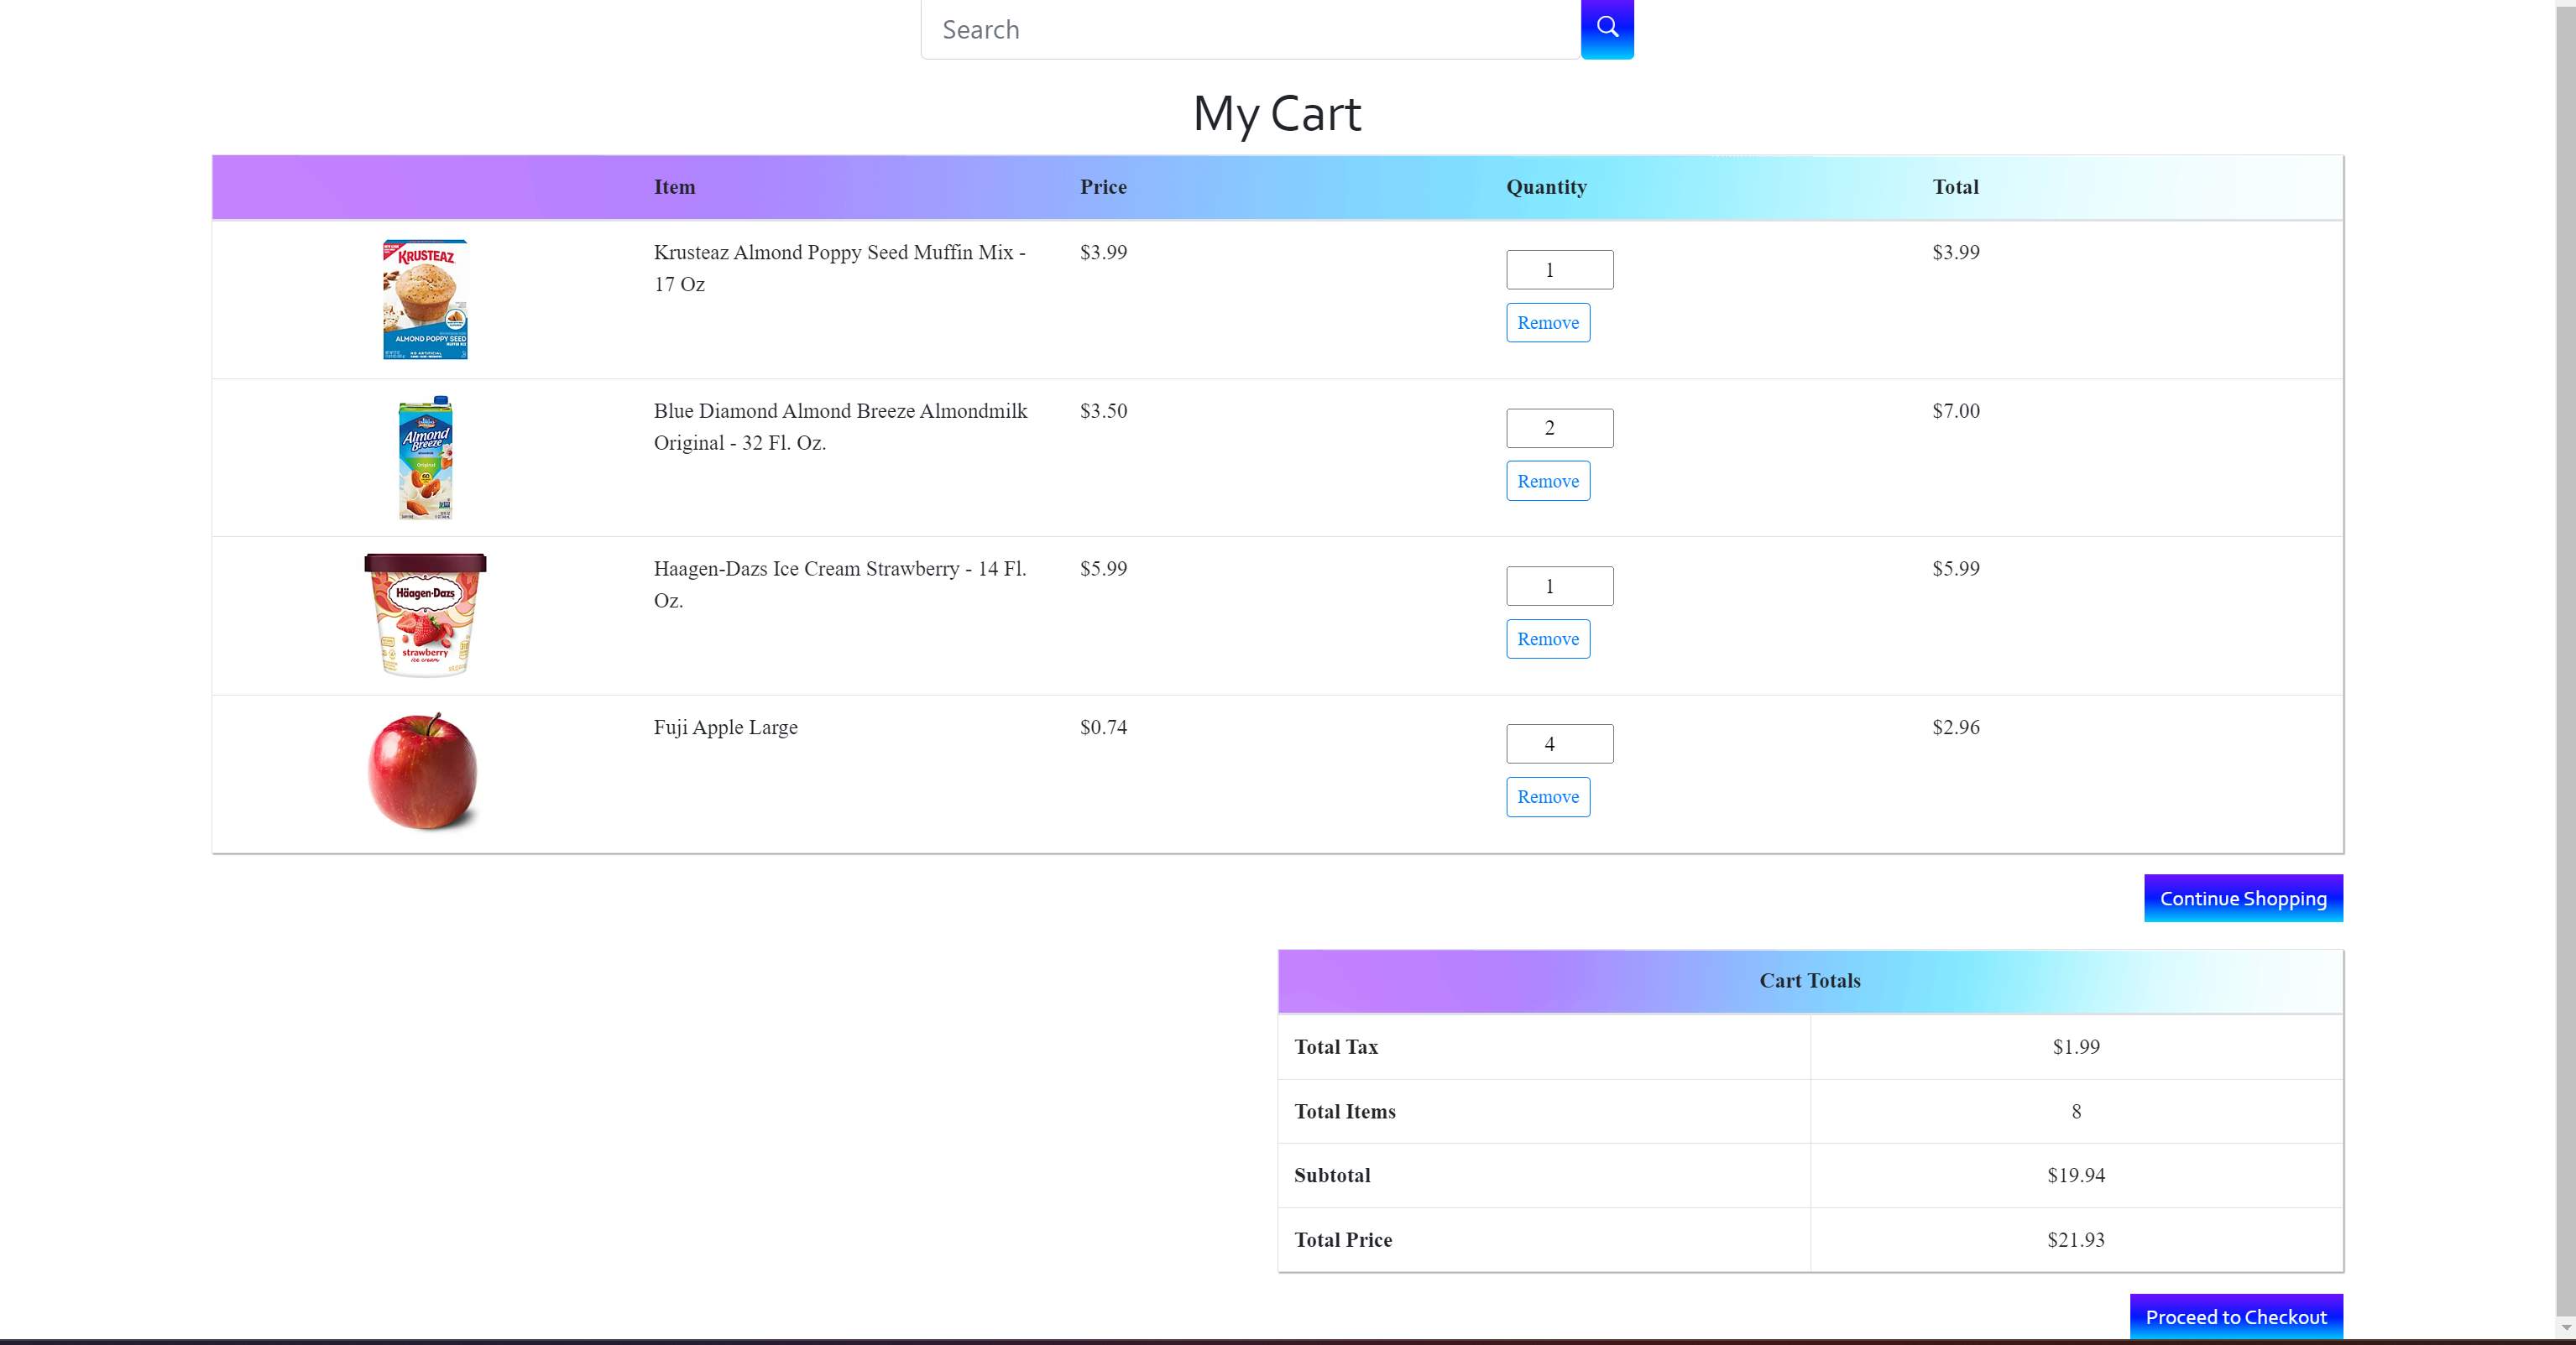
The cart page displays the items that the user added to their cart. They can see the item's picture, title, price, quantity, and total price of each item (item price x quantity). The cart page also displays their cart's total tax, total items, subtotal, and total price including tax. Whenever a user edits a quantity of an item, adds an item, or deletes an item, the prices reflect those changes in real time. The cart has a backend API that allows us to get the user's cart, get a cart by ID, create a new cart, update the user's cart, and delete a cart by ID. The cart also stores the items added as an array. Once the user is done shopping, they will then click on the "Proceed to Checkout" button.

 The page following the cart, is the delivery and billing address page. The user will fill out the delivery address form, which asks for their first and last name,
street, apartment or suite number, city, state, and zip code. Below that form is the billing address, which the
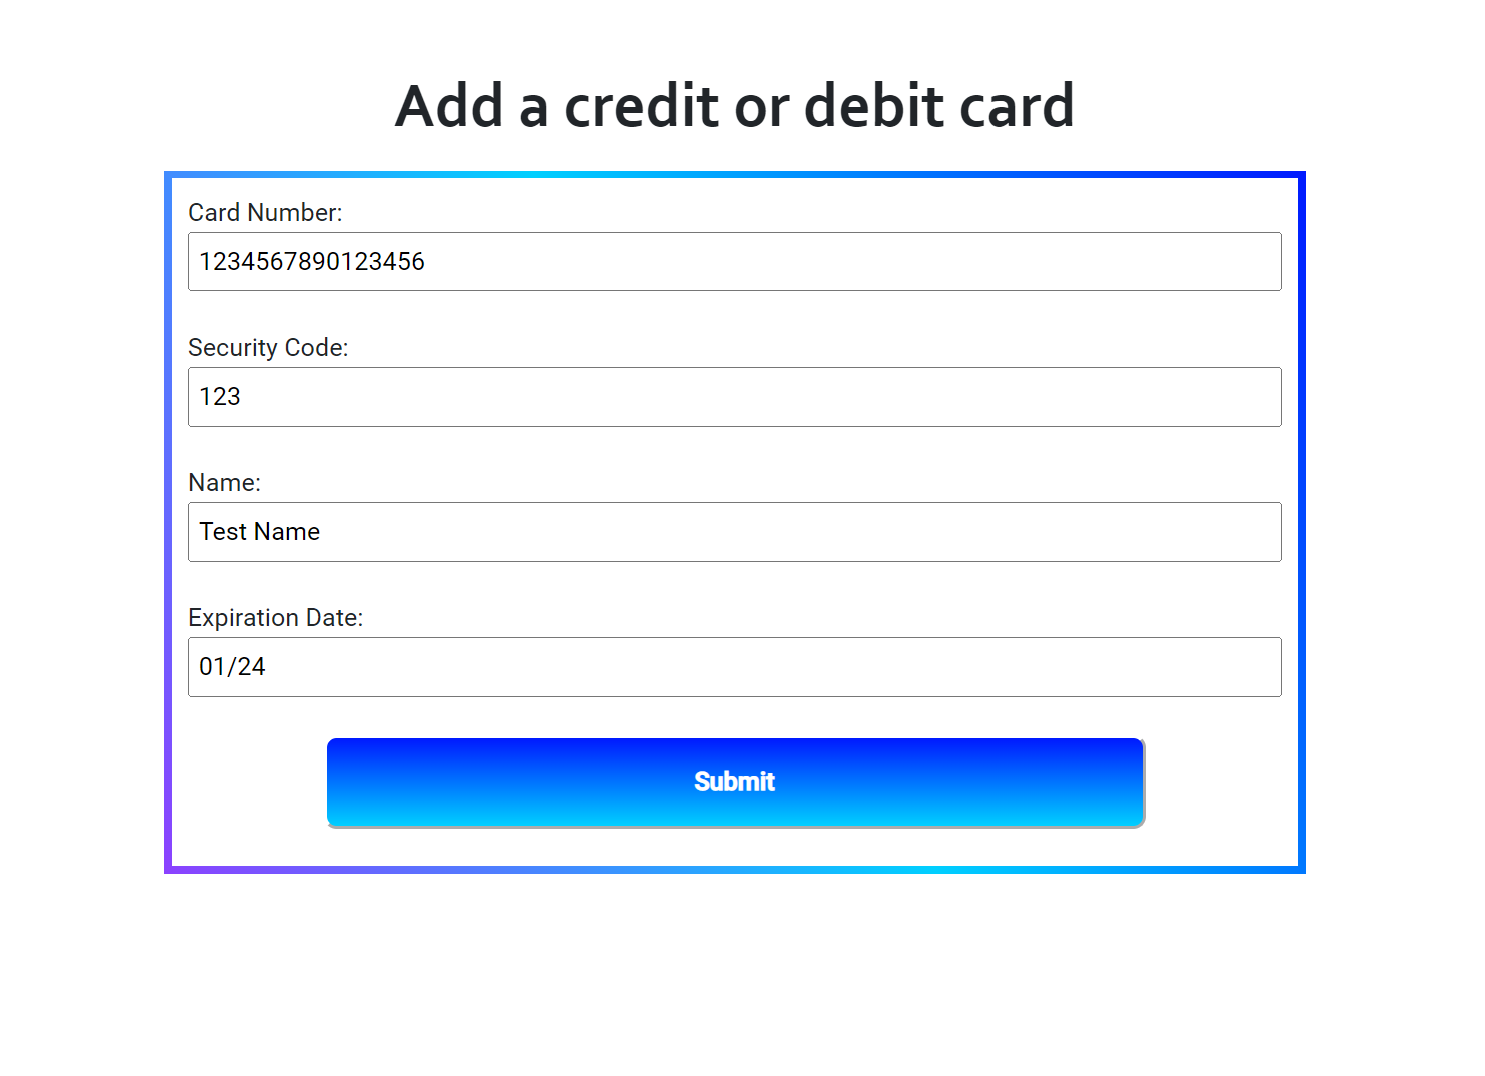
user can fill out with a different address, or use the same address provided for delivery. The user then has to select a credit card to use. If the user hasn't added
a form of payment to their profile, they will be prompted to add one in the "Manage Credit Cards" page. They would fill out a form that asks for their credit card's digits,
CVV, the credit card holder's name, and the expiration date. The user can add as many credit cards as they want, and can use them during checkout. We created an API for
the credit cards so that it can be stored within the user's account. The API can get all cards, get a credit card by ID, create a card, update card, and delete a card by ID. Once
the user confirms their order, they will then be taken to the order summary page.
The page following the cart, is the delivery and billing address page. The user will fill out the delivery address form, which asks for their first and last name,
street, apartment or suite number, city, state, and zip code. Below that form is the billing address, which the
user can fill out with a different address, or use the same address provided for delivery. The user then has to select a credit card to use. If the user hasn't added
a form of payment to their profile, they will be prompted to add one in the "Manage Credit Cards" page. They would fill out a form that asks for their credit card's digits,
CVV, the credit card holder's name, and the expiration date. The user can add as many credit cards as they want, and can use them during checkout. We created an API for
the credit cards so that it can be stored within the user's account. The API can get all cards, get a credit card by ID, create a card, update card, and delete a card by ID. Once
the user confirms their order, they will then be taken to the order summary page.
The order is then sent over to the OMS, which is connected to the OMS team's API. Furthermore, previous orders are also called through the OMS team's API, which we used to display all the user's previous orders in the "Previous Orders" page, located under the "Profile" tab at the top right.